
The best part of the New Year has to be opening a brand new Leuchtturm 1917 bullet journal and deciding how I'm going to start it. Whilst this is a fun exercise, it is also a anxious one because everyone knows that making the first mark in a new book is always the hardest! It actually took me well over a week to start mine because I didn't want to mess up the first page! So you know what I did? Skipped the first page!
Before we start I just want to say for anyone who is on the fence about starting one of these, that you don't have to be creative or 'arty' to start one. You can draw as little or as much as you like. If drawing isn't your thing, go mad with washi tape and stickers, or just keep it simple. There are some absolutely gorgeous simple ones over on Pinterest. The best thing about these journals is that you can tailor it to fit you and your schedules!
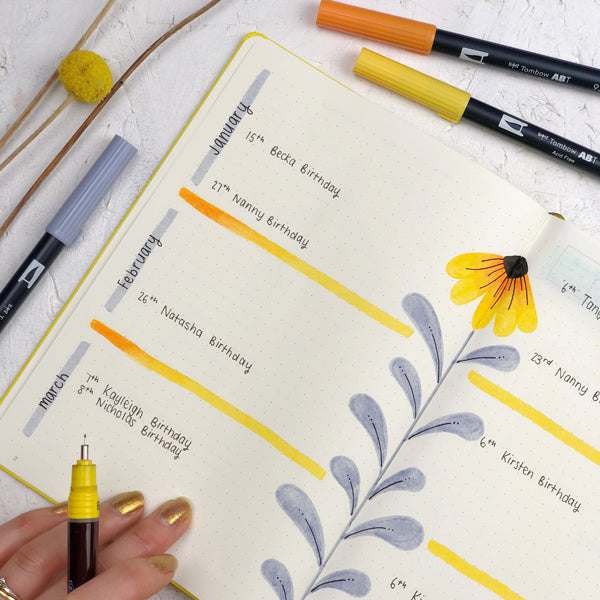
6 Months Ahead - The first thing I always do in a new journal is set up my 6 monthly overview. This is a place where I can scribble down any important dates coming up over the next 6 months. Anything that goes here, also gets moved over to my monthly overviews later on. I typically write down any birthdays, days out, events, holidays or any important dates I need to remember.
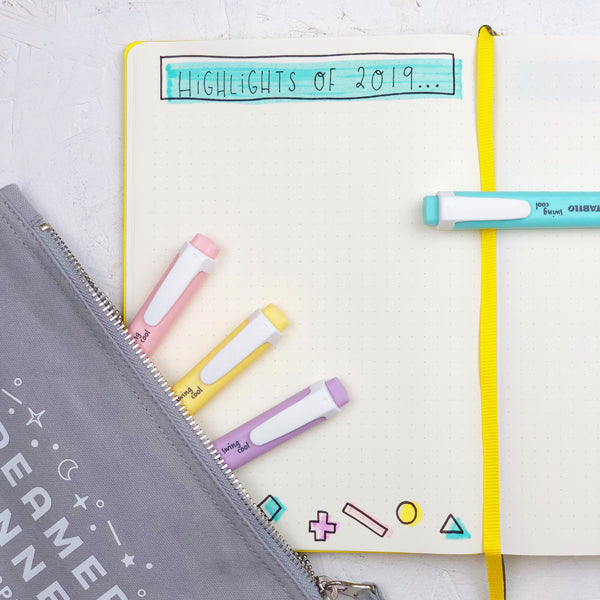
Highlights of the year - Next up I create a page or two dedicated to reflecting on the previous year. I haven't filled this out yet because I really enjoy this page and didn't want to rush it. When I fill this out, I go back through my bullet journal from the previous year and look to see at what I did, where I went and what I achieved. I also go back over my Facebook and Instagram pages for any other moments from the year. It's a good exercise to see what you've done over the past 365 days and is also a great page to come back to if you're feeling a bit meh as it's just a spread full of positivity and good things!
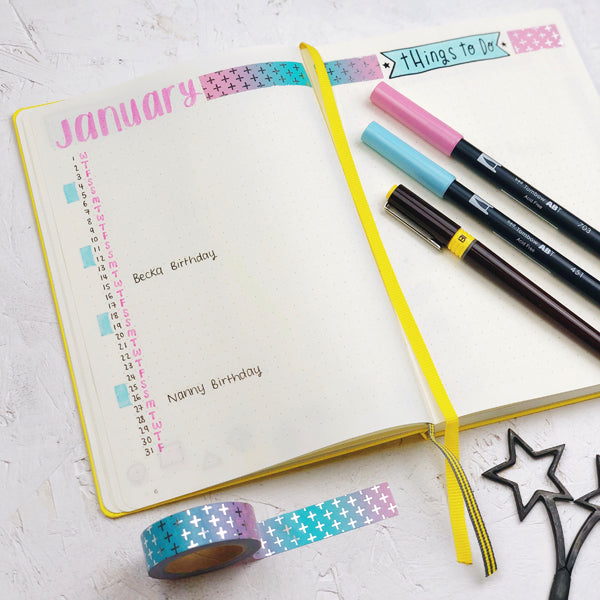
Monthly overview - Each month I create a month overview with the calendar in list form. Next to the dates I use letters to show the day and blocks of colour to quickly see where the weekends fall. I then pull over any important dates from my 6 monthly overview and add any other plans that may crop as the month progresses. Here I have used washi tape and tombow brush pens to quickly put this together. On the opposite page to the calendar view, I write a list of all of the tasks I want to complete that month. Which are then moved over (week by week) to my weekly spreads to ensure they are completed. Each time I create a new week, I can look back to see what I have to do in between my usual weekly routine.
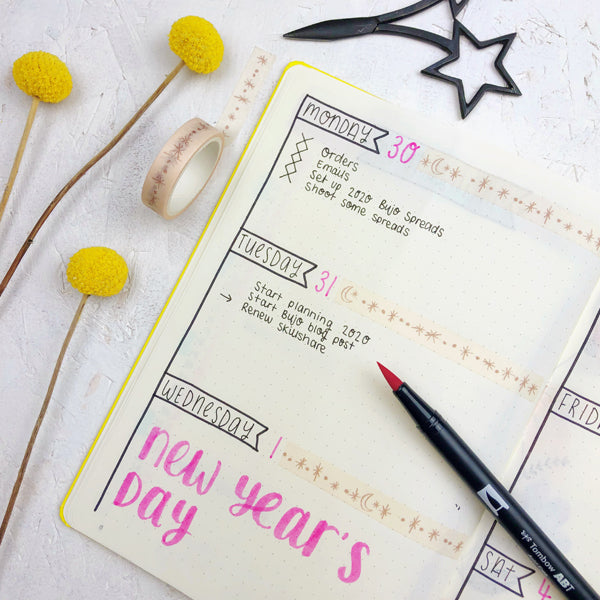
Weekly overview - Like the monthly overview, the weekly spreads don't have to be covered in drawings and you don't need to spend a great deal of time on them (unless you want to of course!) This spread took less than 5 minutes as all I did was draw out my days, jot down the dates and filled in the rest of the border with a piece of washi tape! Here you can see my tasks for the first week of the new year and there isn't a lot listed as I'm not properly back to work yet. I use crosses to mark tasks as complete and a little arrow to show that I have moved a task to a different day. If I remove a task completely, I create what looks like a snowflake instead of the cross. And those are the only symbols I use. You can use as many or as few as you like!

Weekly overview continued - this is another example of how simple you can keep the weekly spreads. It took around 3 minutes as it's simply strokes of my brush pen and hand writing. It also means that it's not too distracting from the tasks at hand. I like to keep my week over a double page so I can see needs to be done and plan accordingly. I also have half the space for Saturday and Sunday because those days tend to be less planned and much more free in terms of tasks to complete. You don't have to keep your week over a double page though. You could do a page for each new day or give half a page per day. That's the beauty of the bujo, you get to decide!
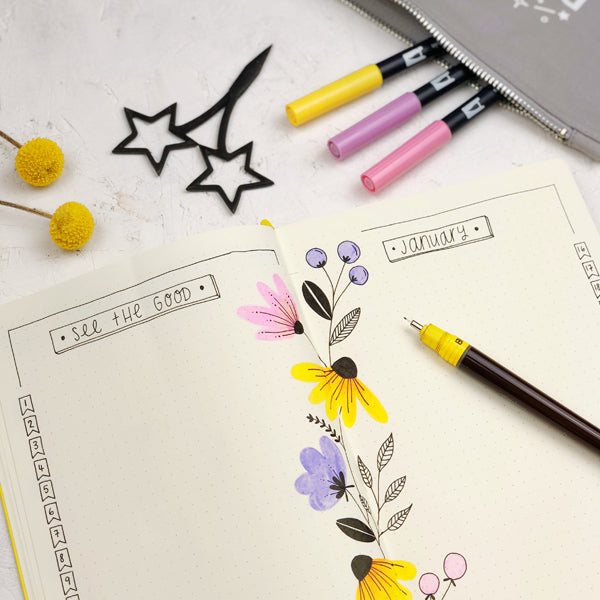
See the good in every day - This is another spread that I fell off of last year but am determined to stick to for the next few months at least! This is a spread where you jot down one or two good things that have happened that day. It can be something good that happened, perhaps you saw friends, you received some happy post, you went on a nice walk or perhaps simply, that sky looked nice that day. It's a spread all about capturing the good things in our day. It's so easy to over look the good and dwell on the bad. At the end of the month, you'll end up with a double page spread positivity that you can come back to when the negative feelings crop up and you can re-live the good. I usually do this in black and white but saw a page I quite liked on Pinterest so used part of it here.
That was a brief introduction to how I set up my bullet journal but there are so many other ways and things you can use them for! I also use it for emptying my brain, planning new ranges, researching seasonal occasions etc. If you want some more inspiration I've made a pinterest board too! Don't be afraid of making mistakes, or errors on these pages. I made a mistake on nearly all of these pages but you will be the only one to know its there!
If you want some links for supplies I'll some below!
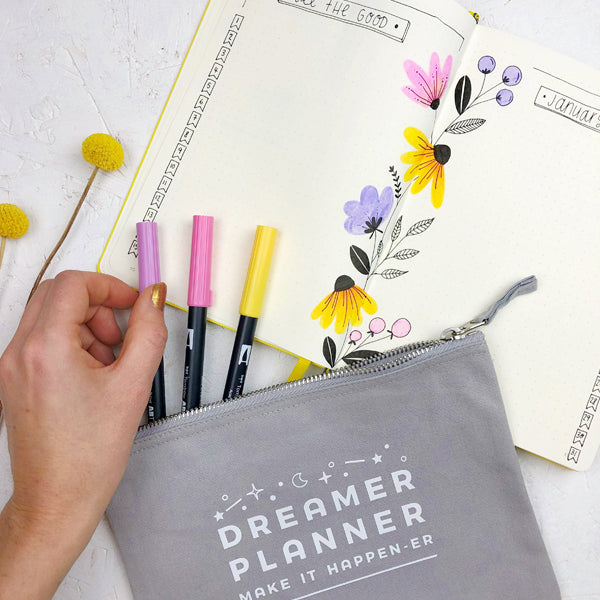
Dreamer Planner Storage Pouch - Joanne Hawker (me!)
Pens and Bullet Journals - Nikkis Supply Store
Washi Tape and Stickers - Check out Etsy! - also, remember, if you are shopping through Etsy to use TopCashBack* to get a kickback on your purchase! It works for loads of other websites too! *affiliate.
I hope that helped a little if you are thinking of starting a journal! If you go ahead and start one or are inspired by any of my spreads, I would love to see them!