
Quite a few years ago I decided that I wanted to turn my handwriting into a font and I spent hours doing that annoying thing where you have to print out a bunch of boxes, fill them in and then upload them to the internet. Whilst this method works well for some people, I just wasn't satisfied with the results. Shortly after I discovered an app, borrowed an iPad from a friends workplace and set about drawing my font with one of those little dabbers on the screen. You know, the plastic sticks with a blob of rubber on the end?
It took days using that blobby stick! But, I was really pleased with my first attempt at it. As I didn't really know what I was doing with the app, I missed the whole section about kerning and generally polishing it up at the final stages. So it definitely wasn't as good as it could have been!
Fast forward a few years and I felt like I wanted to give it another go! I'd just become an ambassador for Skillshare at the time so I made this my first project! Using skillshare meant that I could actually learn about the bits I'd missed off my previous attempts and hopefully create something that I'd be a lot happier with.
So, what do you do and is it easy?
It honestly couldn't be easier! I used the app iFont Maker and essentially, you are drawing over a pre-existing font. This helps to ensure that the height of your letters and ascenders and descenders are consistent. There are a variety of fonts to choose from but I think I just went with the standard one.
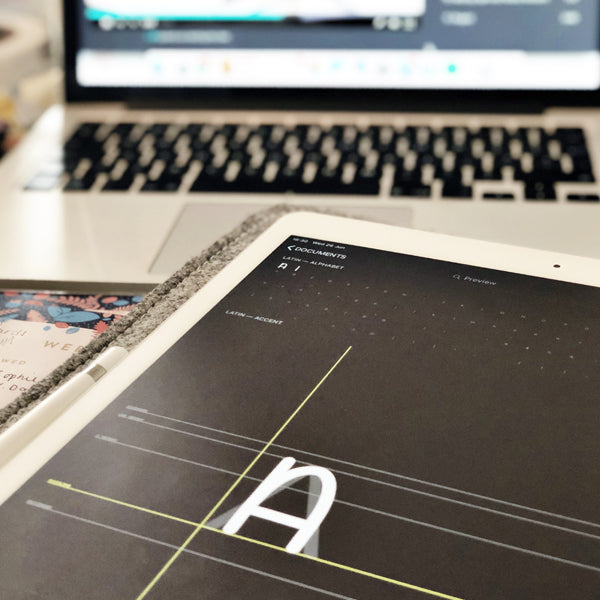
It helps if you know your way around vector paths because you can edit these shapes by adjusting the anchor points. Once you're happy with a letter you simply move onto the next. You work your way through the upper case alphabet first and then move onto lower case. It's really quick and I think I created my entire font over two evenings (mainly because I'm picky! But, it could have been done a lot quicker!).
Once you're satisfied with your letters, you can then move onto numbers, punctuation and as many alternative characters and accents you want! You don't have to fill them all in if you don't want to. I did quite a few on this font because I missed so many on my first one that it became restrictive when I was trying to make something that required a £ symbol or an accent, so I didn't want to make that mistake again!
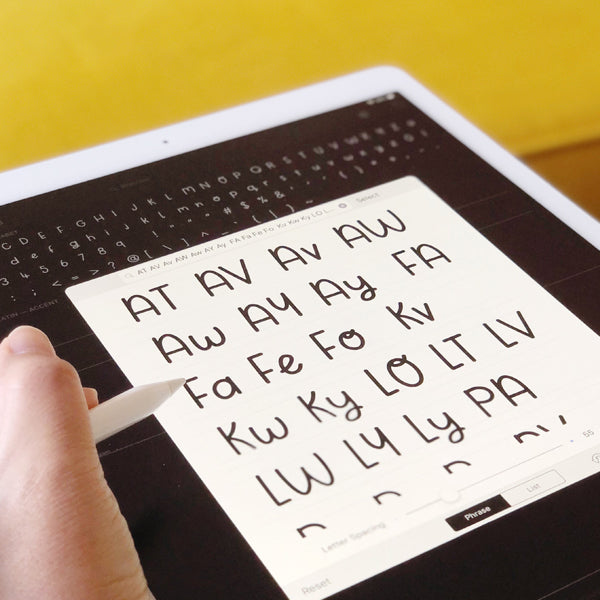
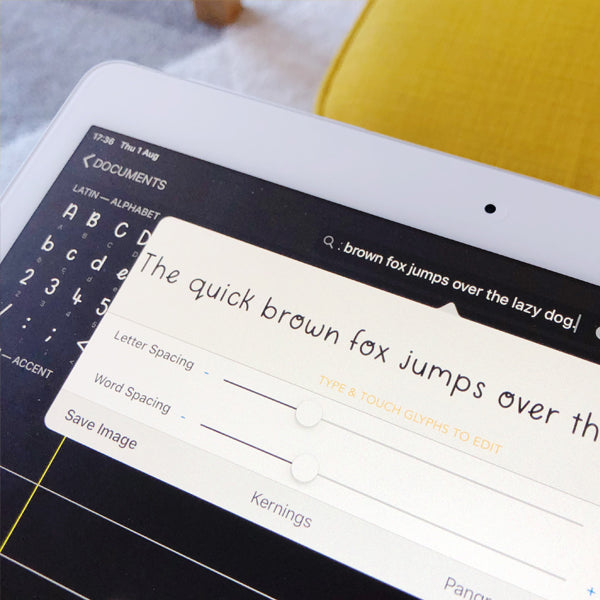
After you've included all of the characters you want to use, you can then start to edit the spacing between the letters. This is known as the kerning. You're given a variety of phrases and troublesome lettering pairs to go through and adjust the spacing on. I won't attempt to go into depth about this because it's not something I know a huge amount about but it is an important step!
Also, top tip! You can check to see how your font is looking as you go along. Simply use one of the pangram options or write in your custom text to see how it looks! It's a great way to quickly test how your font is looking and if you're happy with the direction your design is going in!
Once you're happy that you've made all the necessary tweaks that you want and tidied up any letters that you're not fully happy with then it's time to export it! I set my font to private because I don't want it publicly available. Downloaded it, sent it to my laptop and installed it! And now it's there to use whenever I want! I can access it in illustrator, photoshop, microsoft word etc etc!
Easy peasey! If you want to join skillshare and check out the font making video too then I can give you a free trial by clicking here! - for transparency purposes, it is an affiliate link but I'm probably going to sign up when my free trial is over too because there is just too much I want to learn over there!
Anyway, I hope this was useful! If you decide to make your own, I'd love to know how you get on!
1 comment
I really want my own font on my ipad